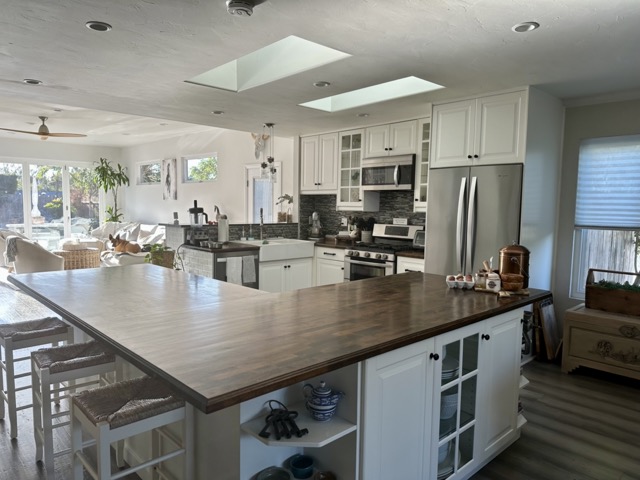
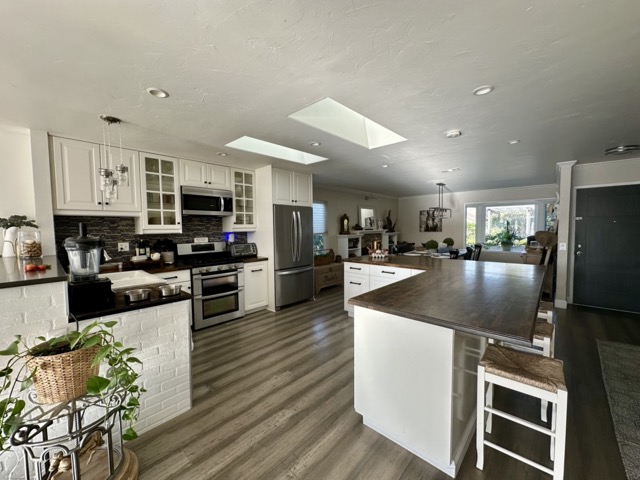
What I really wanted was a full kitchen remodel, but because of the extensive work required to create my dream space, I decided to go with a more subtle refresh for now. When I designed our last kitchen remodel, the footprint of our home was quite different, and ever since then the kitchen has felt a bit like an afterthought. It just hasn’t had the cohesiveness with the rest of the home that I’ve been craving.
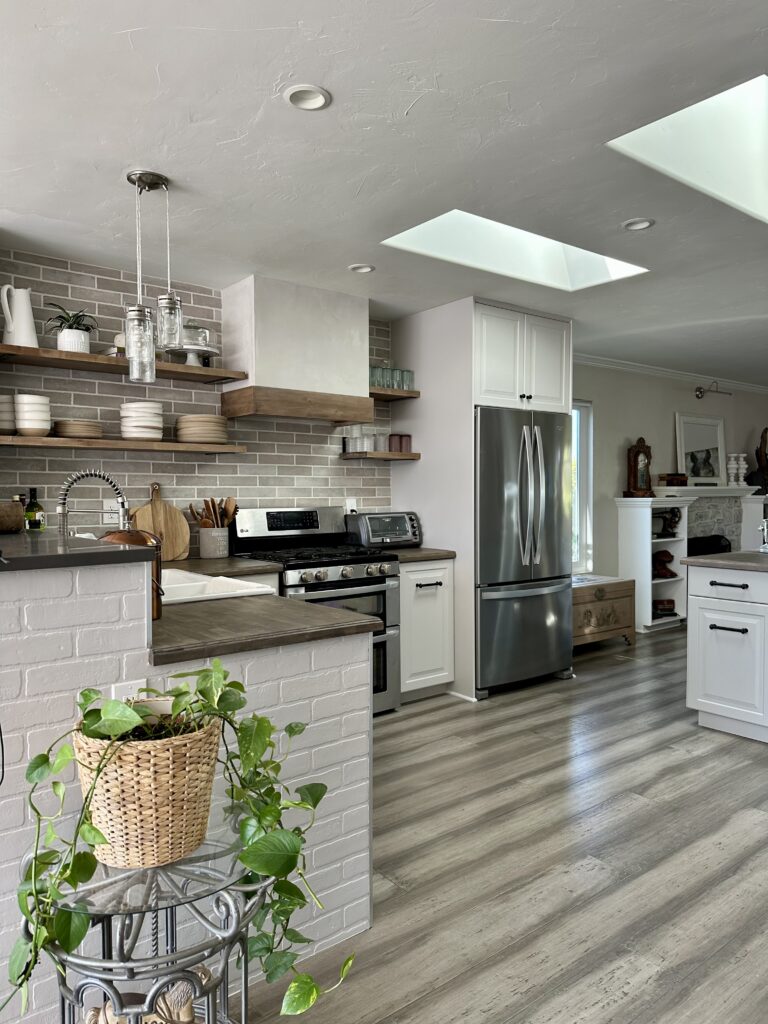
Thankfully, a few small changes have made a big difference. These updates help the kitchen blend more naturally with our open-concept layout, and while it’s not my forever design, it’s absolutely an improvement that will get me through until I’m ready for that full remodel.
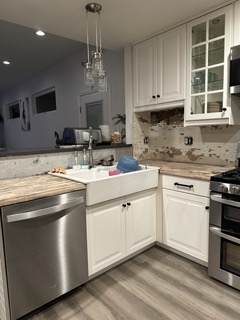
started by sanding down and refinishing the butcher block countertops. This project was a beast. We had originally used a dark stain and a super thick top coat, so it took several days of intense sanding just to get the surface to a place I could work with again.
Ideally, I would have loved to bring the wood back to its original natural color, but despite every tip and trick up my sleeve, it just wasn’t happening. So instead of fighting it, I pivoted. I chose a smokey brown stain and finished everything off with a matte polyurethane. It wasn’t the plan I started with, but the end result feels warm, intentional, and much more fitting for the space.
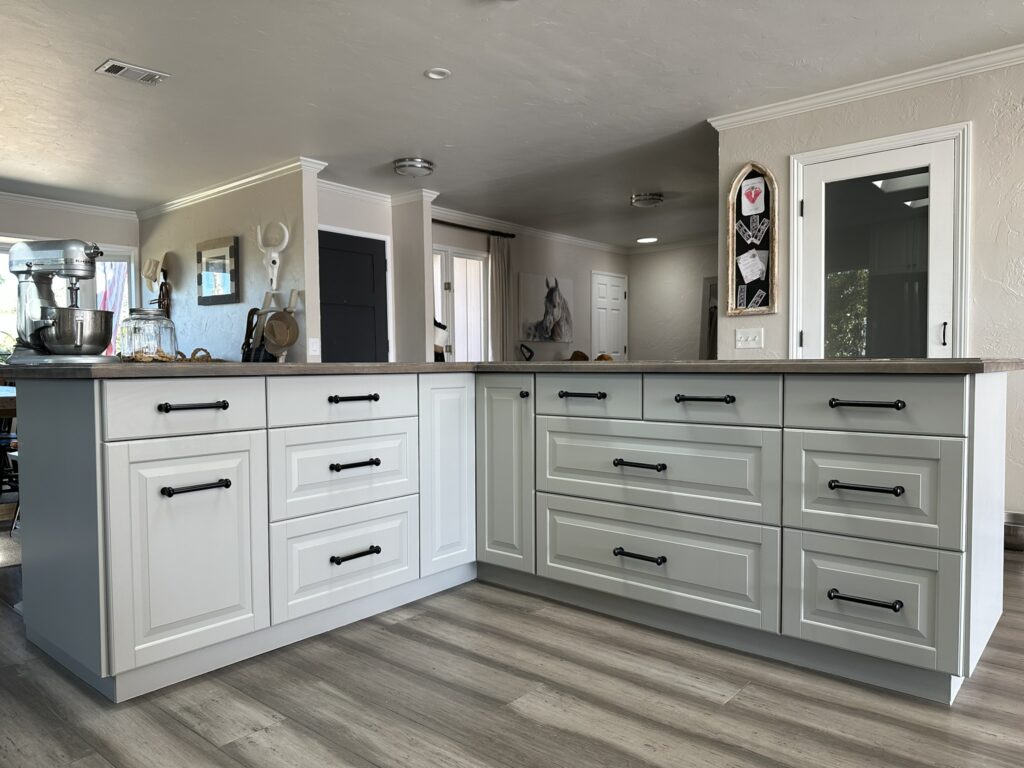
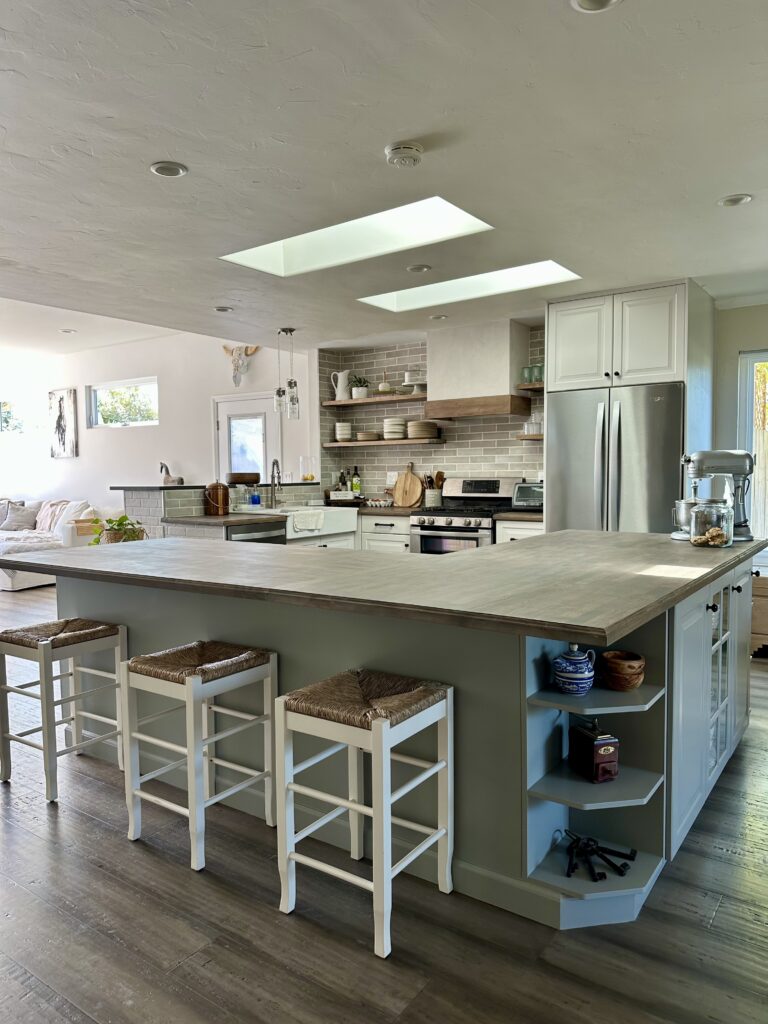
Next up were the cabinets, and I started with the island. I wanted it to be a slightly different color than the main kitchen cabinets, and after way too many paint samples, I finally landed on SW 7746 Rushing River. It’s the most beautiful musky gray-green—soft, earthy, and exactly the vibe I wanted.
These are older IKEA cabinets, so they needed a bit of extra prep before I could actually start painting. First, I de-glossed everything using Krud Kutter. After that, I filled any imperfections and gave the surfaces a light overall sanding. Then came a coat of super-adhesion primer (this step is non-negotiable with IKEA cabinets!) followed by the first coat of cabinet paint.
Once that first coat dried, I lightly sanded everything with a very fine finishing grit and added a second coat. My plan was to spray the cabinets, but of course my sprayer decided to quit on me mid-project. Out of pure frustration, I ended up rolling everything with a foam roller—and honestly, they turned out beautiful. Sometimes the backup plan ends up being the right one.
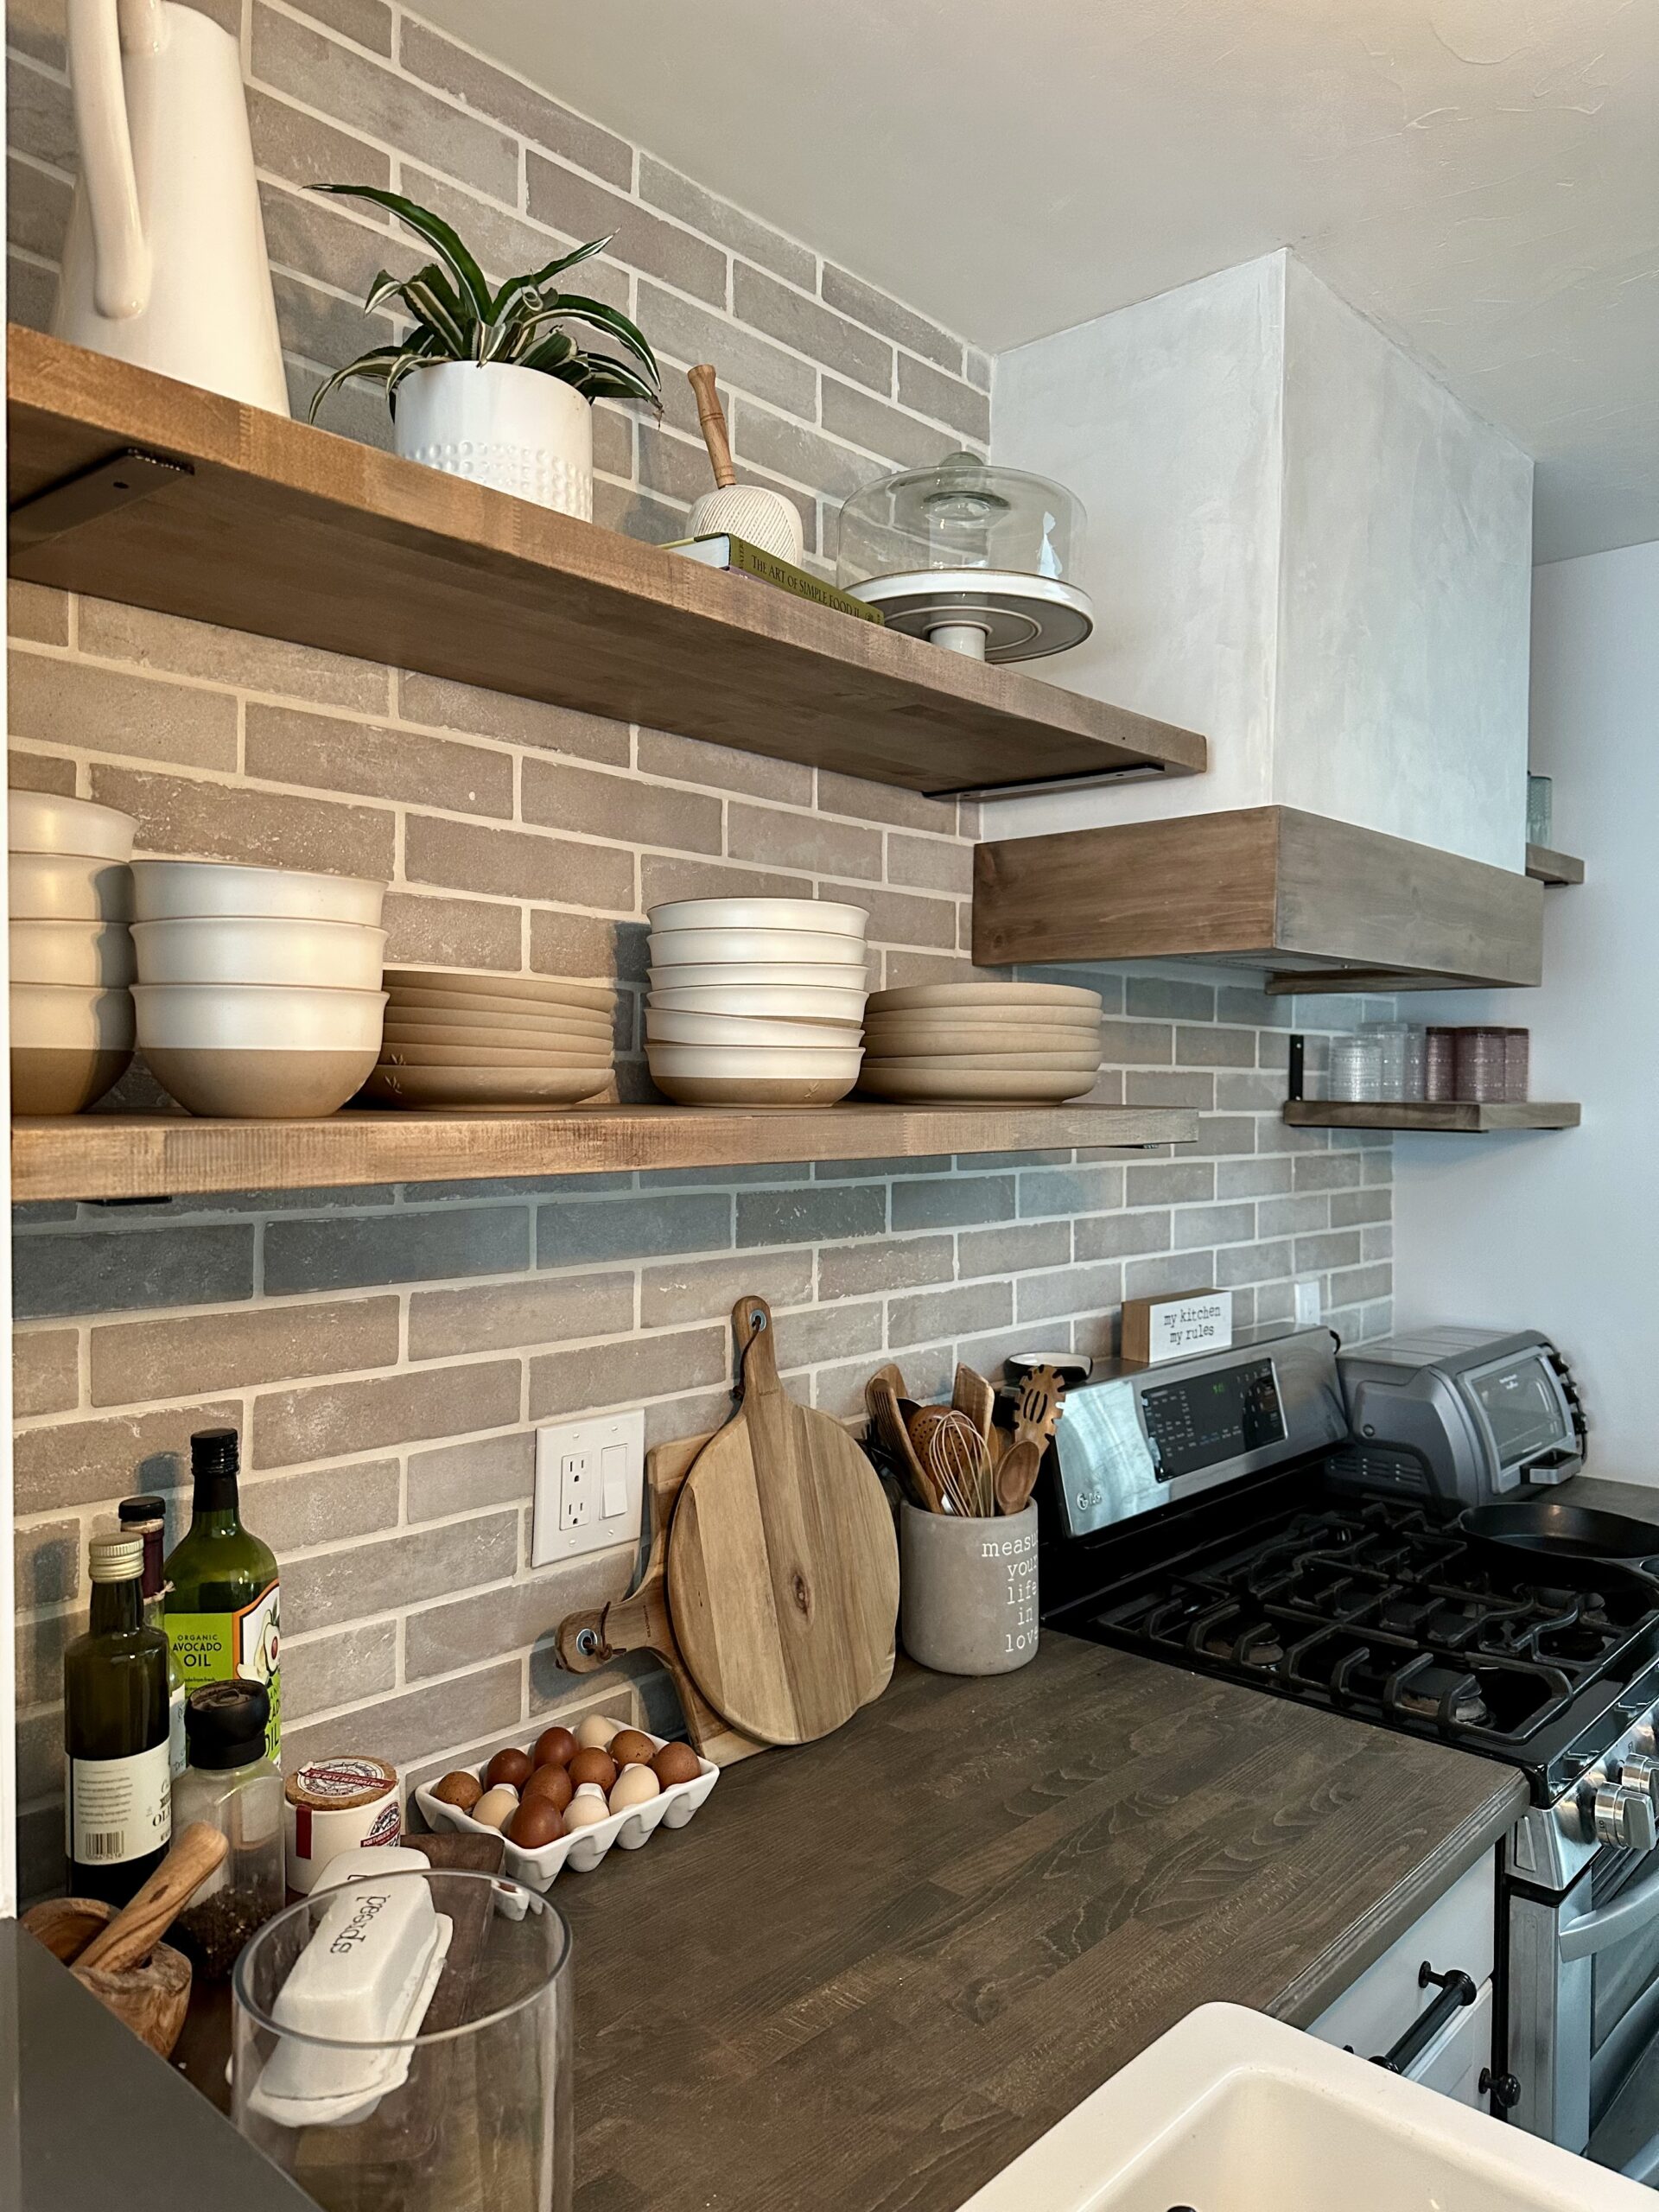
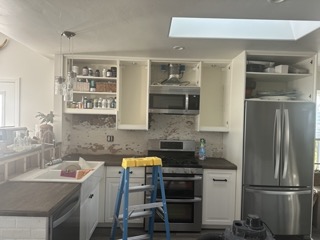
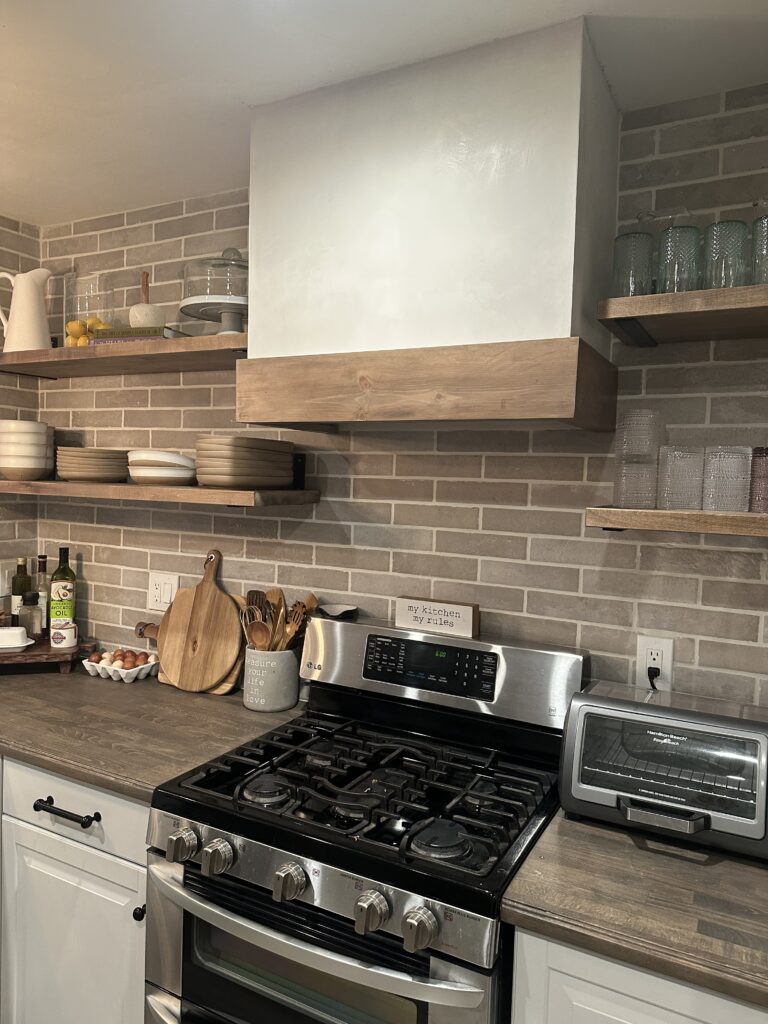
Moving on to the back cabinets. Once I removed the doors from the upper cabinets, I instantly felt inspired to take things a step further and remove them completely. I’ve done open shelving in a previous home and loved it—not only did it actually give me more usable space, but it also created a lighter, more visually appealing aesthetic.
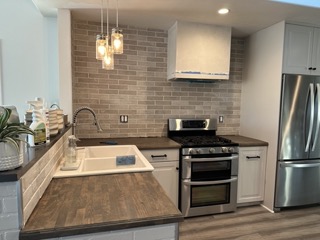
While I was at it, I decided to say goodbye to the over-the-range microwave as well. In its place, my wonderful husband and I built a custom vent hood, which instantly elevated the entire wall and made the space feel more intentional.
For the bottom cabinets and the fridge surround, I used the same painting process as the island. This time, I chose SW 7022 Alpaca, a soft, warm neutral that complements the island color beautifully and ties the whole kitchen together.

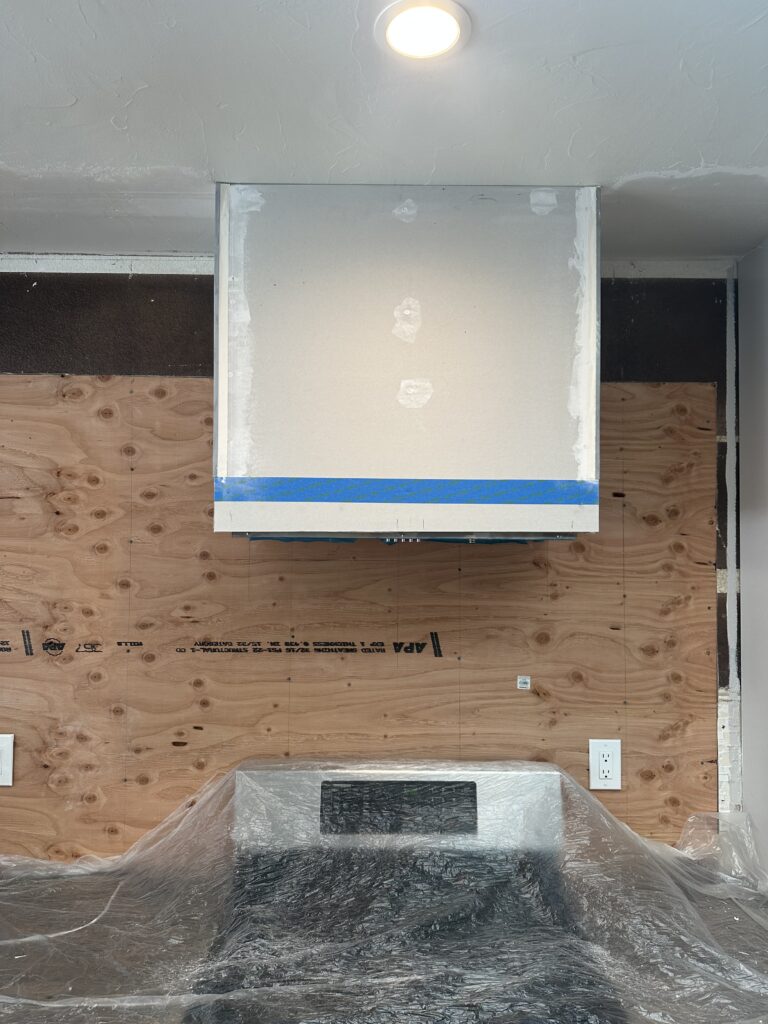
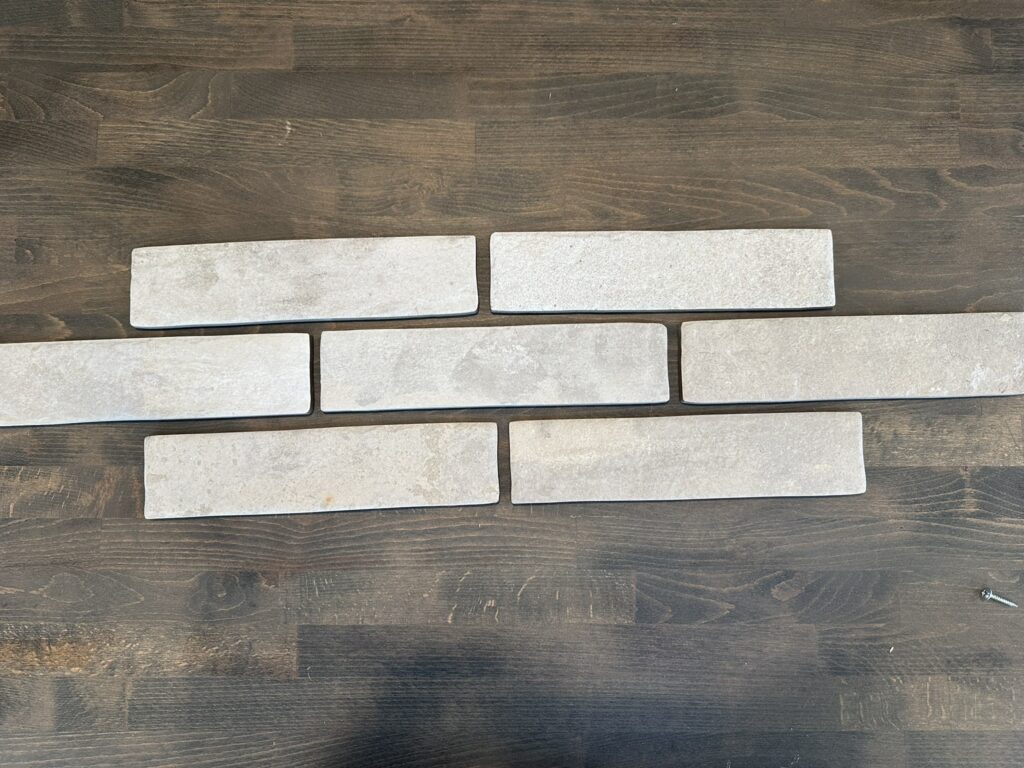
After drowning in what felt like endless tile samples, I finally landed on the perfect one. I was completely drawn to its old-world charm—simple, timeless, and just interesting enough to make a statement without overwhelming the space. I decided to carry the tile all the way up to the ceiling, which gave the entire wall a more dramatic presence and created the illusion of taller ceilings. It’s such a small design choice, but it made a huge impact.
After mudding, sanding, and priming the drywall on the vent hood, I finished it with Roman Clay by Portola Paints in Washi. I absolutely love this product—I’ve used it on two of the fireplaces in our home, and it never disappoints. The texture and depth it adds are just beautiful.
My husband built the wood trim for the hood, and I took over from there—sanding, staining, and sealing it with a matte polyurethane. I used the same process on the butcher block shelves so everything would feel cohesive and warm.

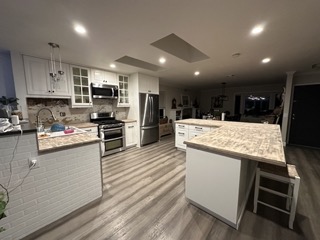
And there she is! This makeover ended up being incredibly budget-friendly since I reused the original cabinetry, countertops, and hardware. A little creativity and a lot of elbow grease can go a long way. Hopefully this refresh will keep me satisfied until we’re ready to tackle the full remodel—but for now, I’m really happy with how it turned out.
Leave a Reply