In 2020 we moved from our coastal home in California to the coast in North Carolina. As you can imagine this was a drastic change but one we were ready to take on. We had just 1 week to find our home in NC and on the last day of the last hour we found it! It was move in ready and newly renovated due to it’s damage in hurricane Florence in 2018 however it was all redone with boring builder grade everything : ( After moving in and living in the space for awhile I began sketching and imagining what it could be with just a little creativity and elbow grease.
My first project needed to be our primary bathroom, the footprint wasn’t bad but it was so dark and drab, a space that felt claustrophobic and dreary. I knew this could be changed into a bright and gorgeous space that gave me all the feels of a home spa.
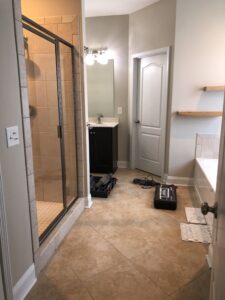
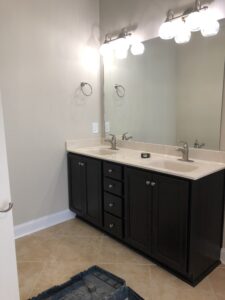
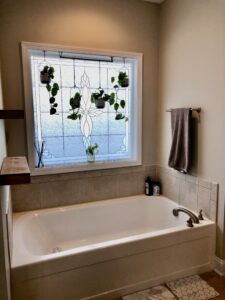
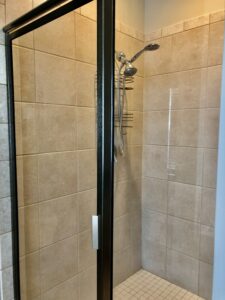
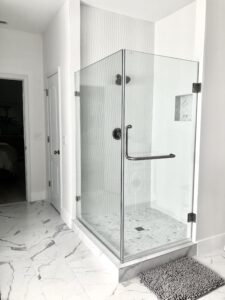
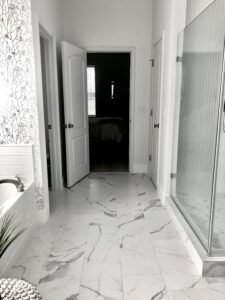
Time to gut, we removed everything except the tub. The first issue I saw was the wall separating the shower from the vanity, leaving this awkward space between the two and closing in the bathroom, so out it went! Once the wall was down we rebuilt the shower pan to the dimension of the new glass shower enclosure.
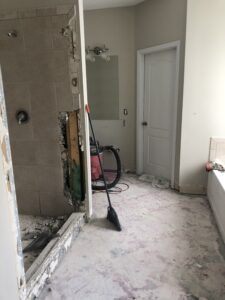

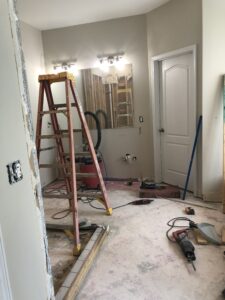
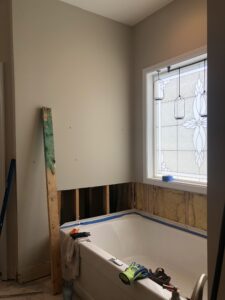
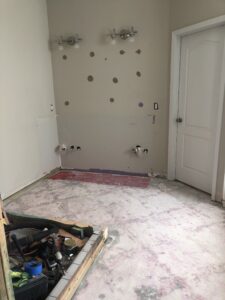
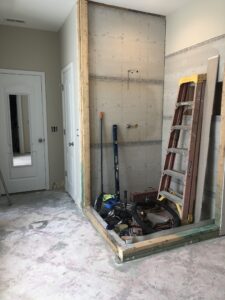
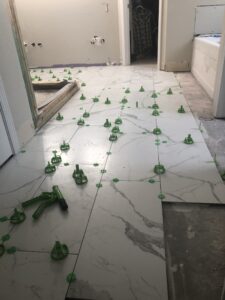
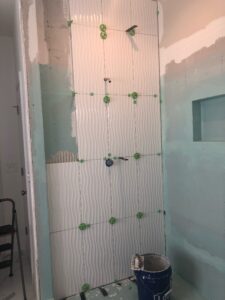
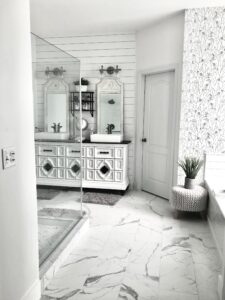
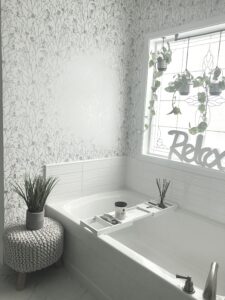
Then there was this 90’s golden brown marbled tiles everywhere that just looked dingy and outdated in my opinion. Removing this tile was a mission, it was in there to stay so it took a lot of muscle and it made a huge mess to get it all out. I love white, it’s crisp, fresh and bright so I knew I wanted to go with white tile, however too much can seem a bit too stark so to add some contrast I opted for a large rectangle marbled tile for the main floor and brought the marble into the shower with small hexagon marble tiles for the floor and in the niche. For the shower walls I went with the wave motion style large rectangle tiles in a vertical pattern up to the ceiling to elongate and bring the eye up. I choose the same tile in a smaller rectangle in a horizontal pattern for the tub surround. We opted for 1/8″ grout lines and finished with white grout for all. Helpful note: when working with tiles that are flat with no smoothed edges it can be hard to keep them level when laying them, especially on the floor. We used Miracle Sealants Levolution Plastic Tile Spacer, these were a sanity saver!
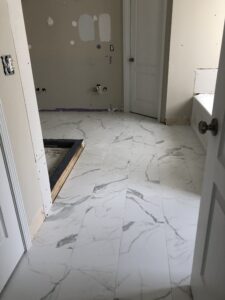
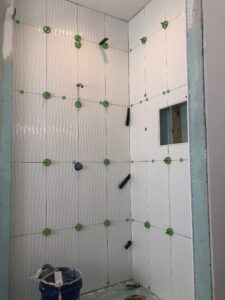
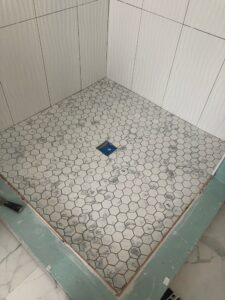
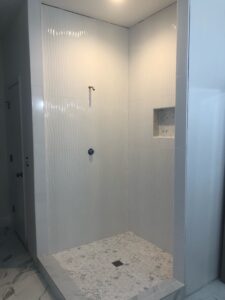
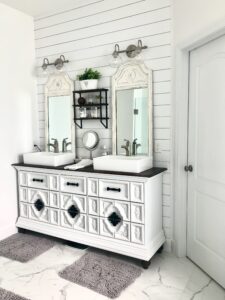
We changed out the traditional baseboard throughout with a 5.5″ squared baseboard for a more modern, sleek look. I painted the walls in Sherwin William’s (Snowbound 7004). To offset all the white, for the walls in the tub niche I used a silver metallic print Peel & Stick wallpaper by Scott Living, it’s just the right amount of chic and elegance. On the wall behind the vanity I wanted to add some character and texture so we went with shiplap which we have on our fireplace in the bedroom (details on that to come) to create a cohesive and intentional primary bedroom/ensuite space.
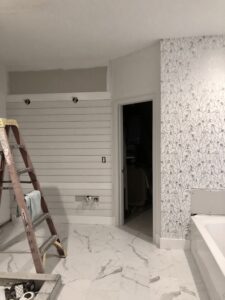
Finally was the dark stock vanity, YUCK. I thought of painting it but then I found the perfect old dresser at my favorite local resale shop and knew it would make the perfect custom vanity, YAY! I’ll give more details on that transformation in my next post.

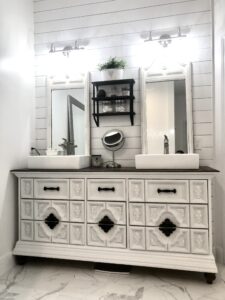
So there it is, mission accomplished in turning this sad bathroom into a cheery space that is one of my favorite spaces in our home. It took us about 4 weeks of evening and weekends to complete this project with a price tag of approximately $3500 for all the materials. Below I have added links to specific items used in this project.


Leave a Reply