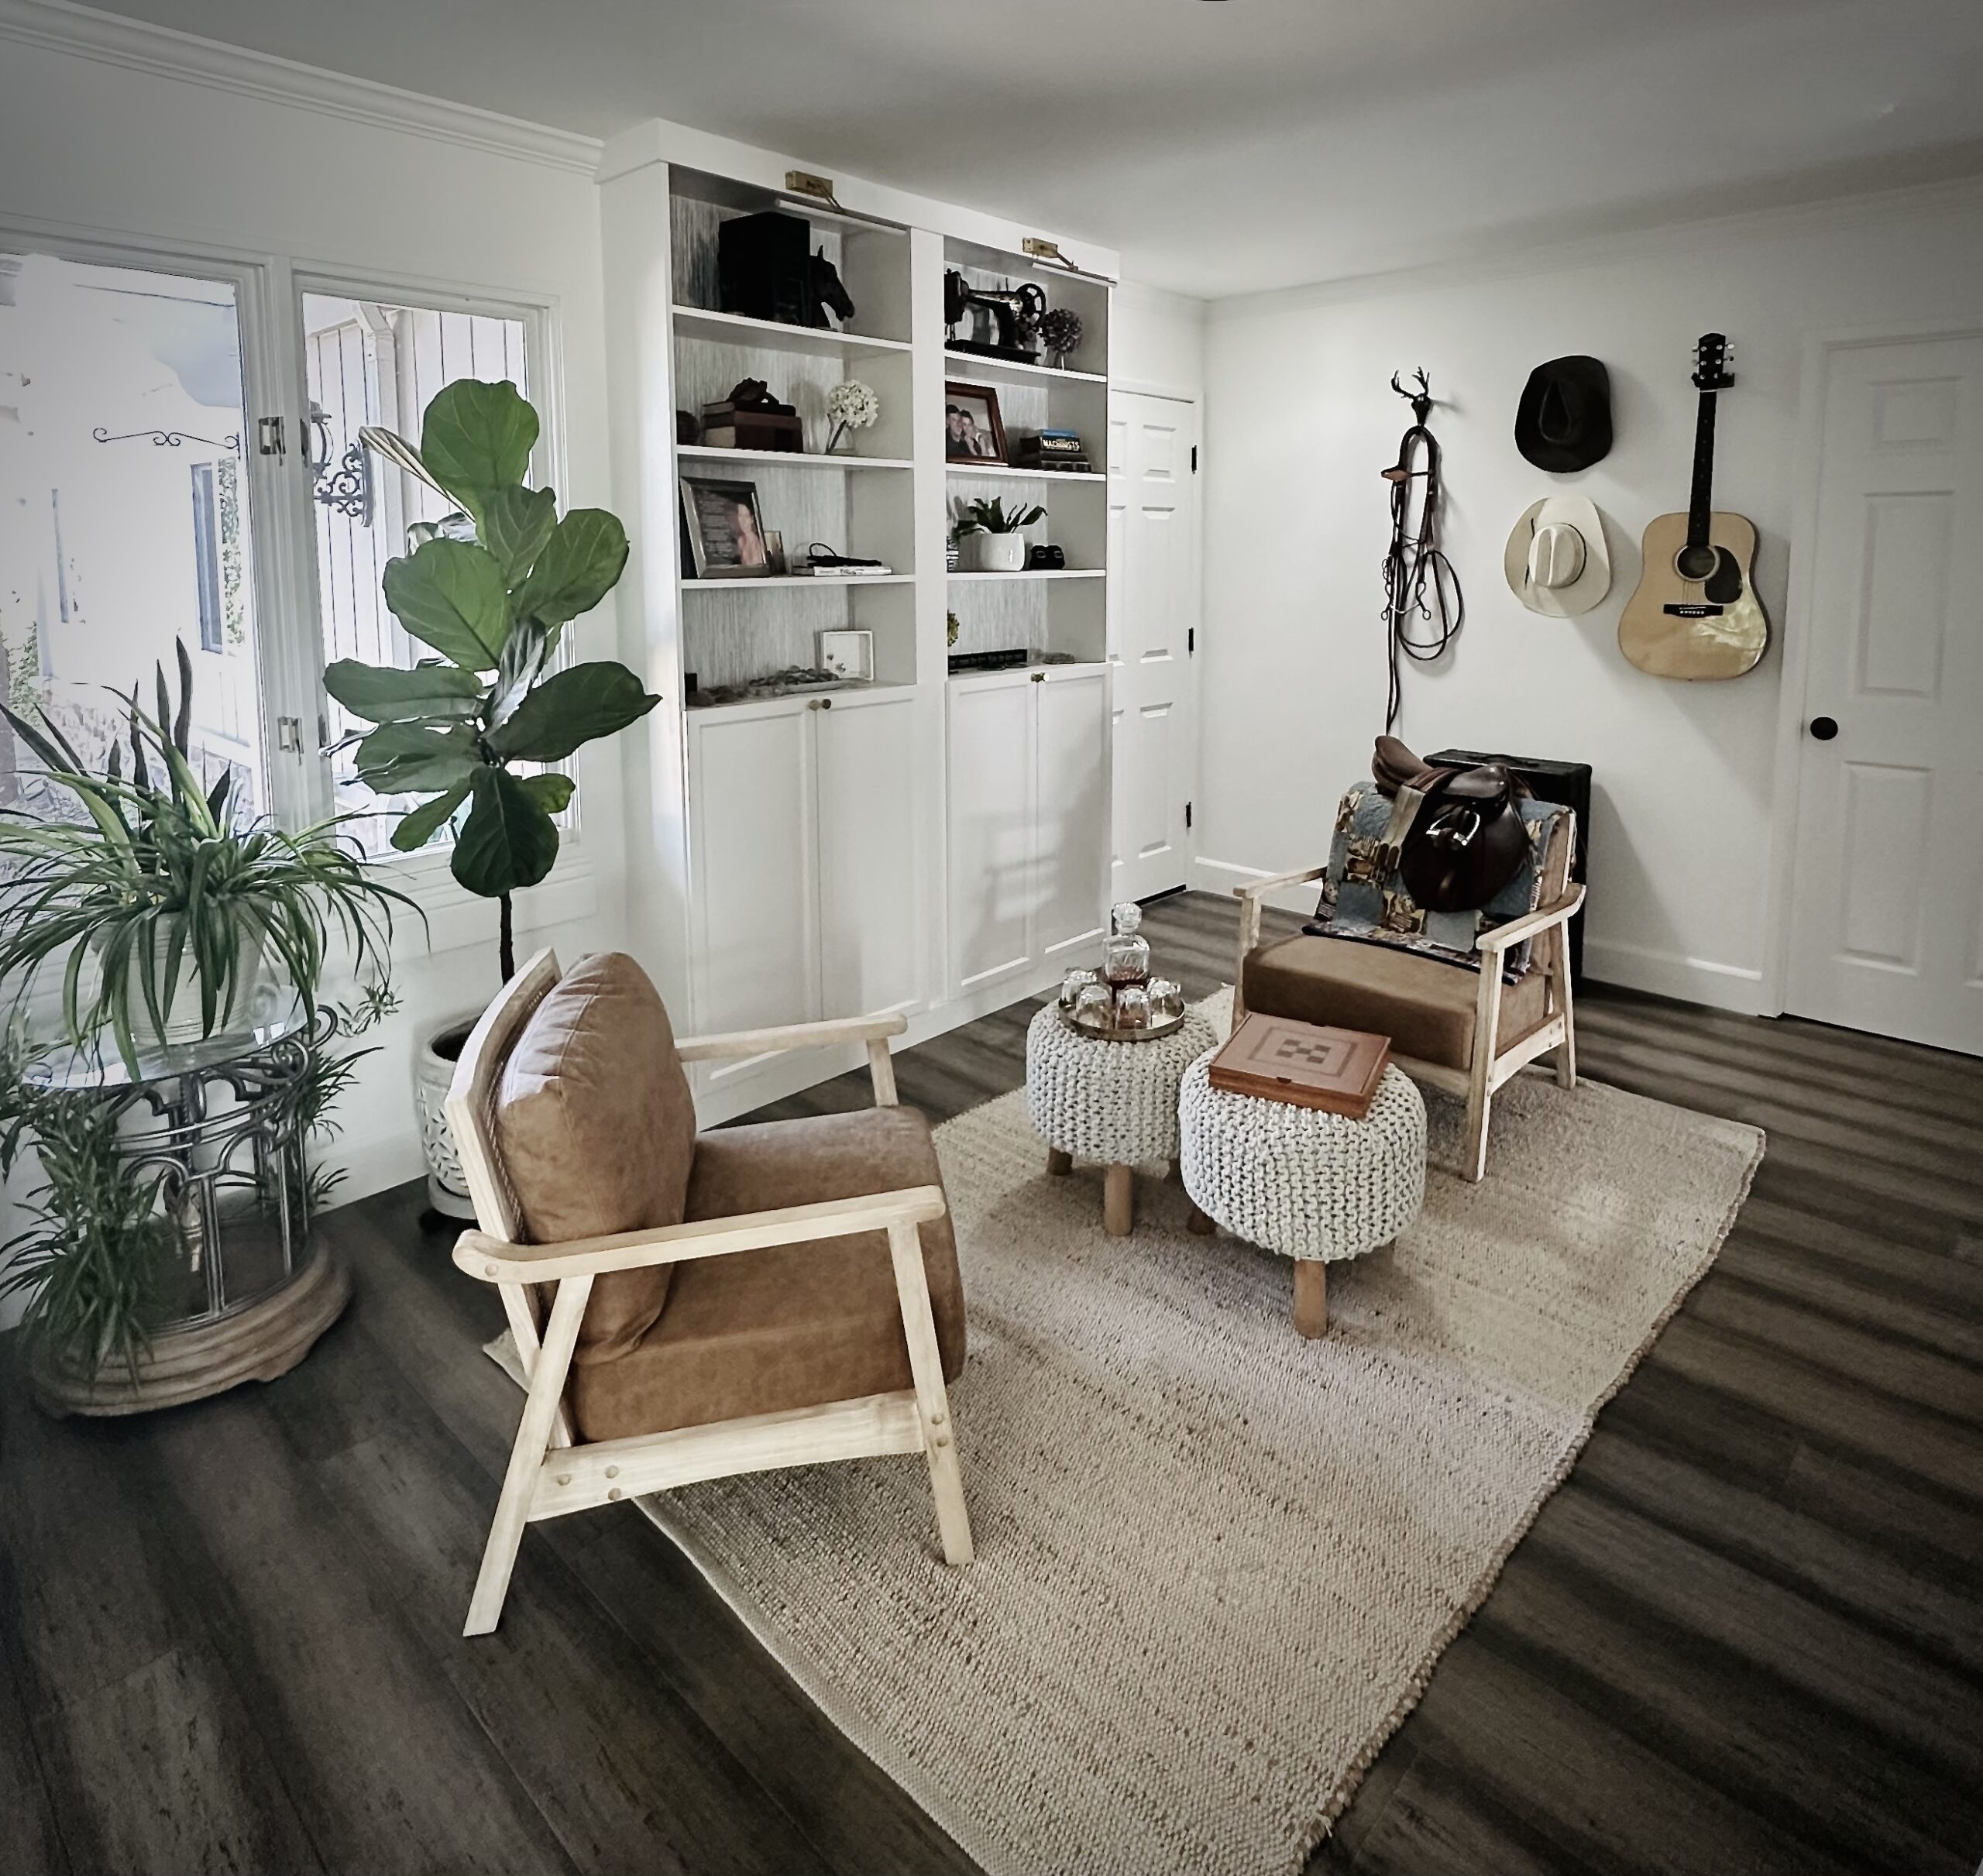
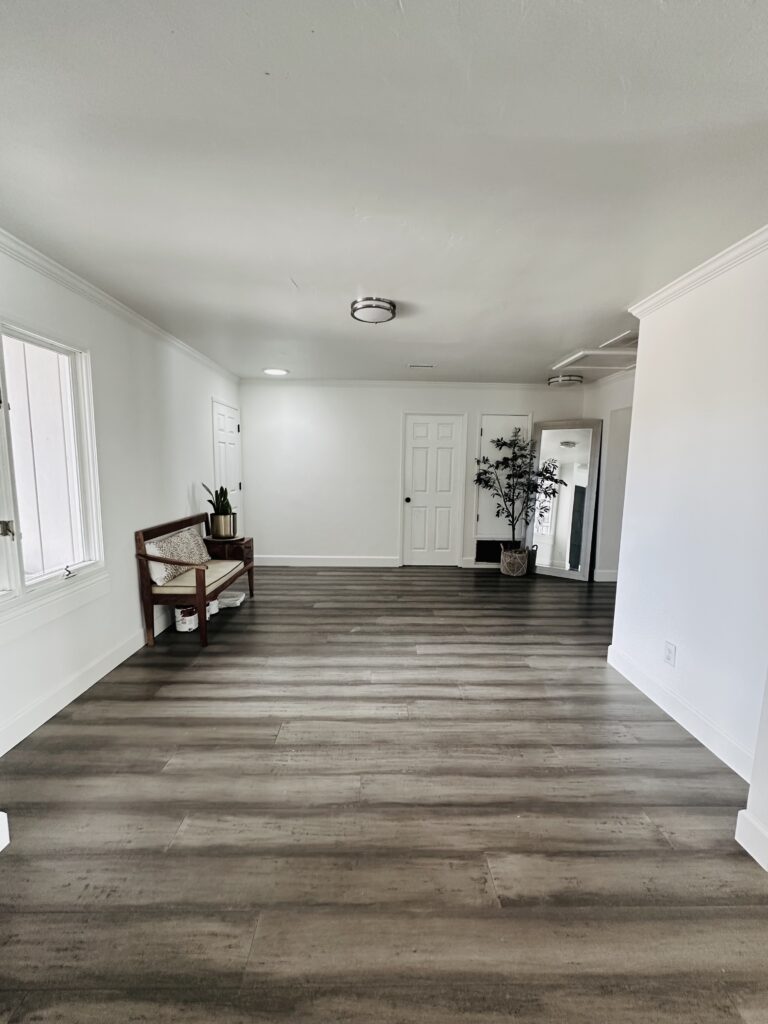
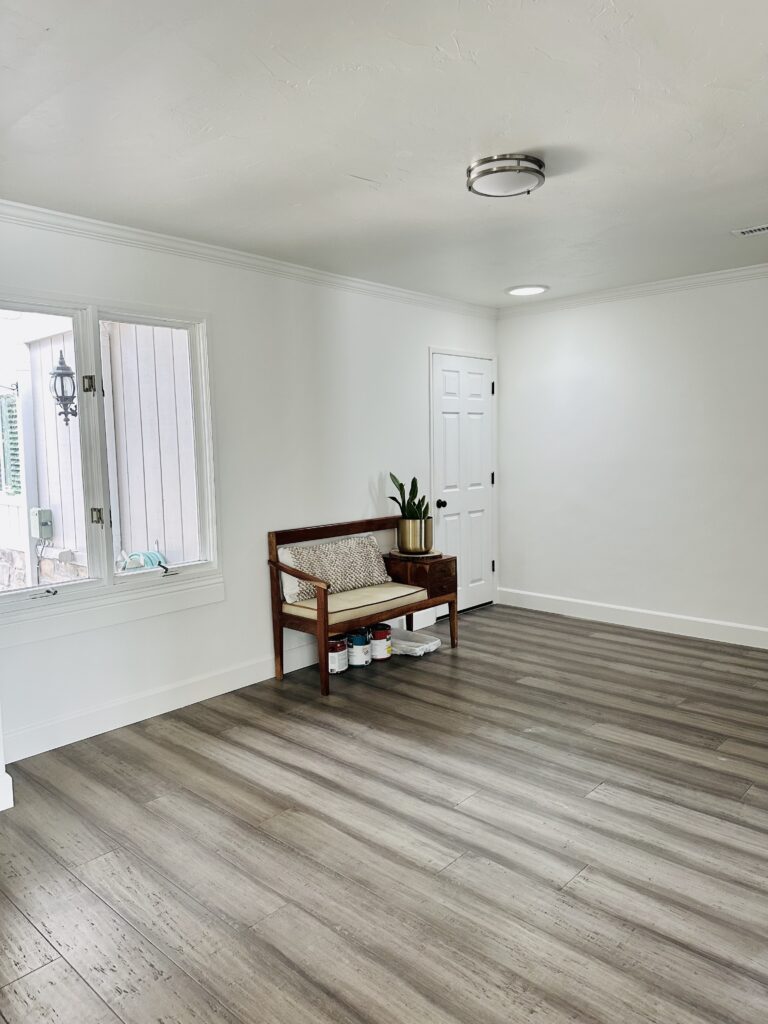
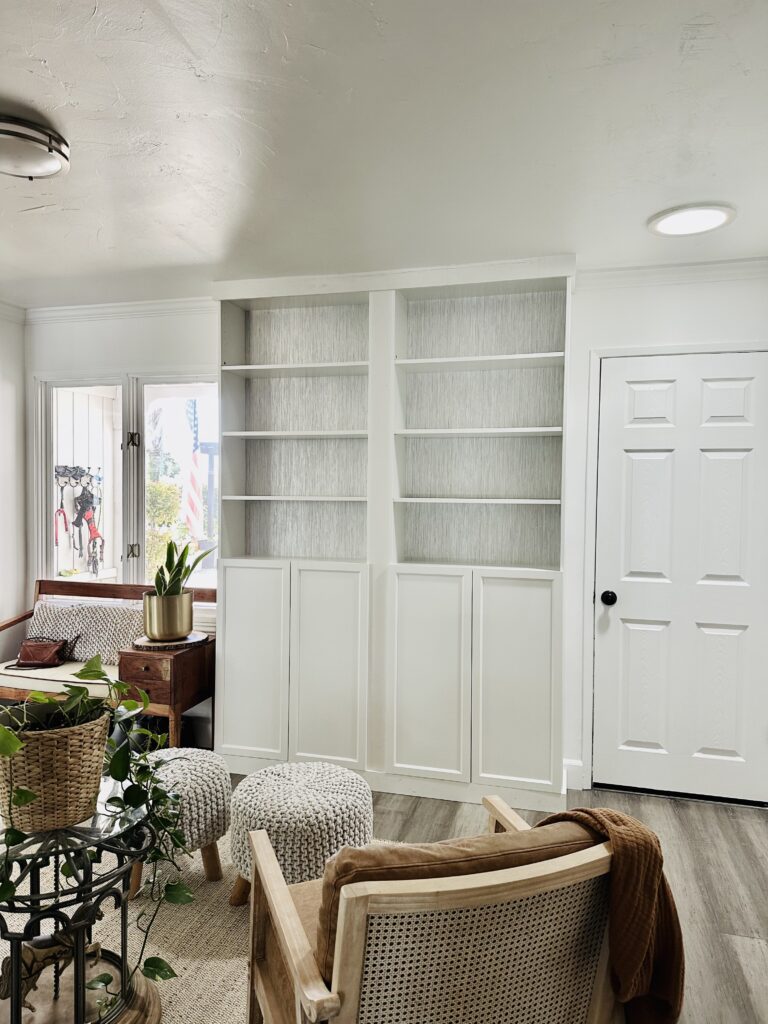
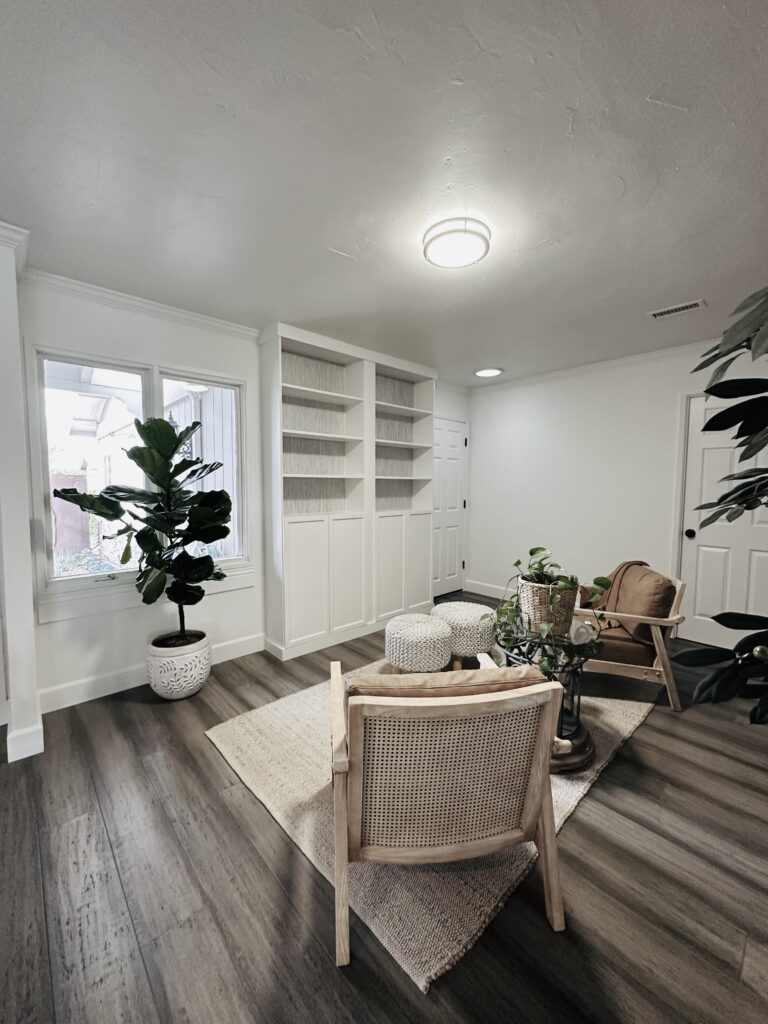
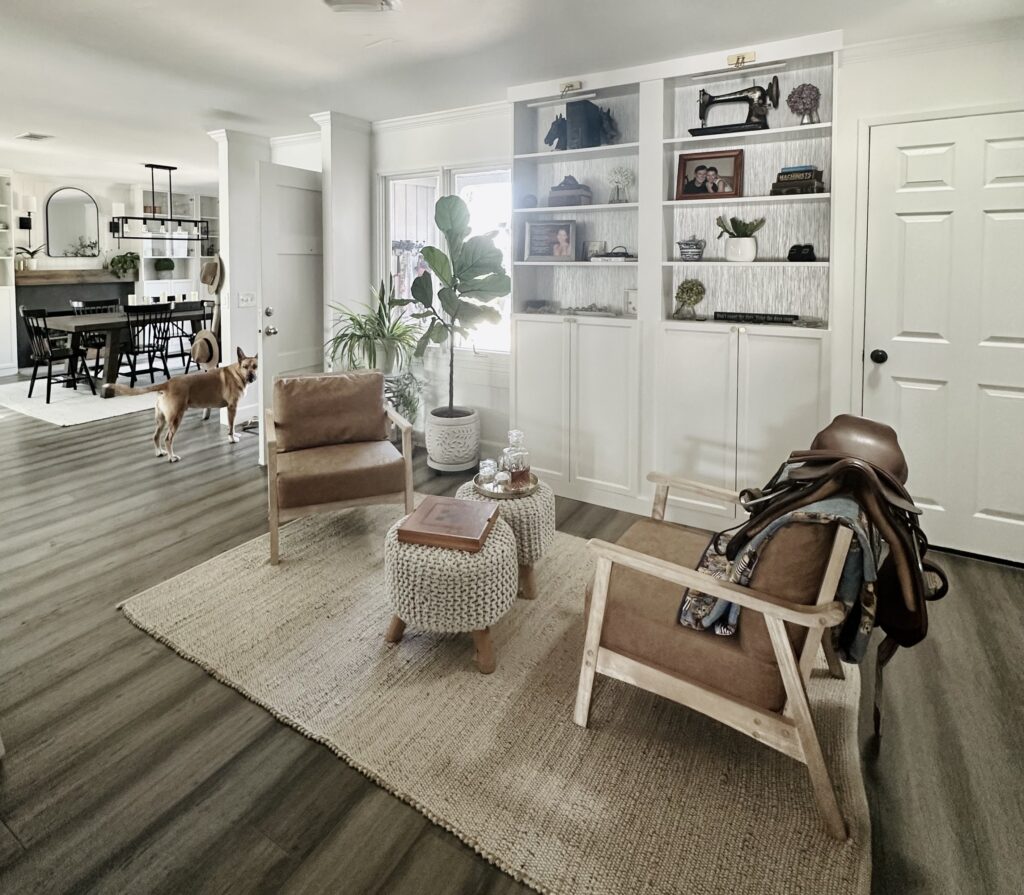
We have this somewhat awkward space in our home. It used to be a bedroom, but it was removed about 10 years ago, and ever since then it’s really just functioned as a pass-through to the garage, guest bathroom, or bedrooms. I wanted to transform it into a quiet little retreat—a place to sit, read, have a conversation, or listen to a podcast.
I knew I wanted built-in bookshelves to display some of my special pieces, but I also wanted to keep the project budget-friendly. After seeing so many IKEA Billy bookcase hacks, I decided to give it a try myself—and I’m so glad I did. While the space still needs a bit of refining, it now feels far less like a walkway and much more like a cozy spot to sit and enjoy a little downtime.
Note: This post contains affiliate links. If you make a purchase, I may earn a commission
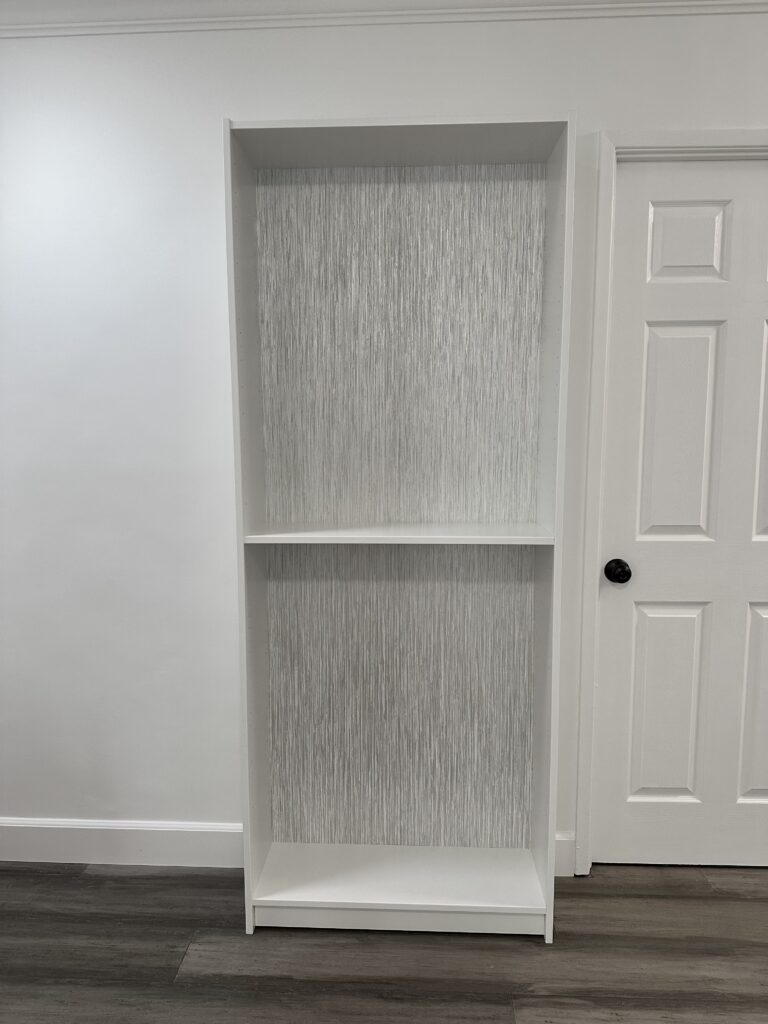
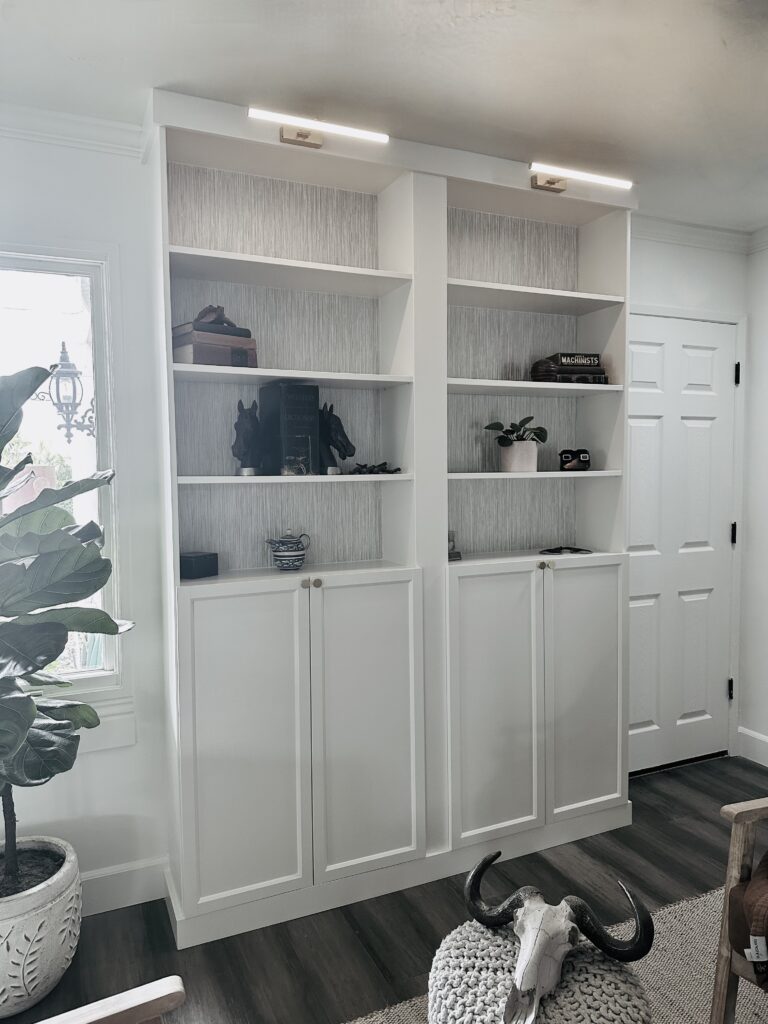
To transform the IKEA cabinets into something a bit more special, I wanted to add a subtle pop of interest. I did this by applying wallpaper to the back panels before attaching them to the cabinets. Not only does this bring in a pretty layer of texture and pattern, but it also hides the unsightly seam that runs down the center of those panels. You can use peel-and-stick, pre-pasted, or—like I did—a traditional wallpaper that you paste yourself. This is the wallpaper I chose, and I absolutely love how it turned out!
Once both units were assembled and in place, I added MDF boards to the top, bottom, and in between the cabinets to fill any gaps and give them that custom built-in look. I filled any unused shelf holes, nail holes, and seams with Plastic Wood (this worked so well for this project), then gave the entire unit a light sanding. After that, I caulked any areas that needed smoothing to prep everything for primer and paint.

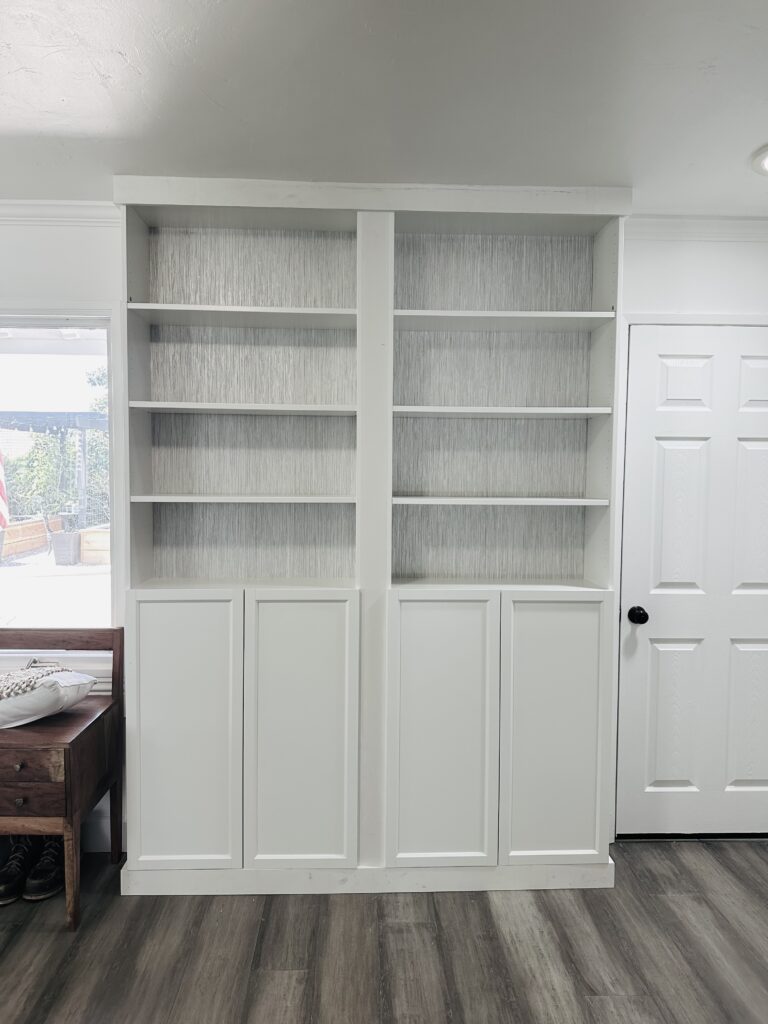
I wanted the unit to feel completely seamless in this space, so I decided to paint it the same color as the walls: SW 7004 Snowbound. For the finish, I used Behr Satin Enamel Interior/Exterior Cabinet, Door & Trim Paint—an amazing, budget-friendly product that gives such a smooth, durable result. And just an FYI: Home Depot can tint most Sherwin-Williams colors, which makes projects like this even easier and more affordable!
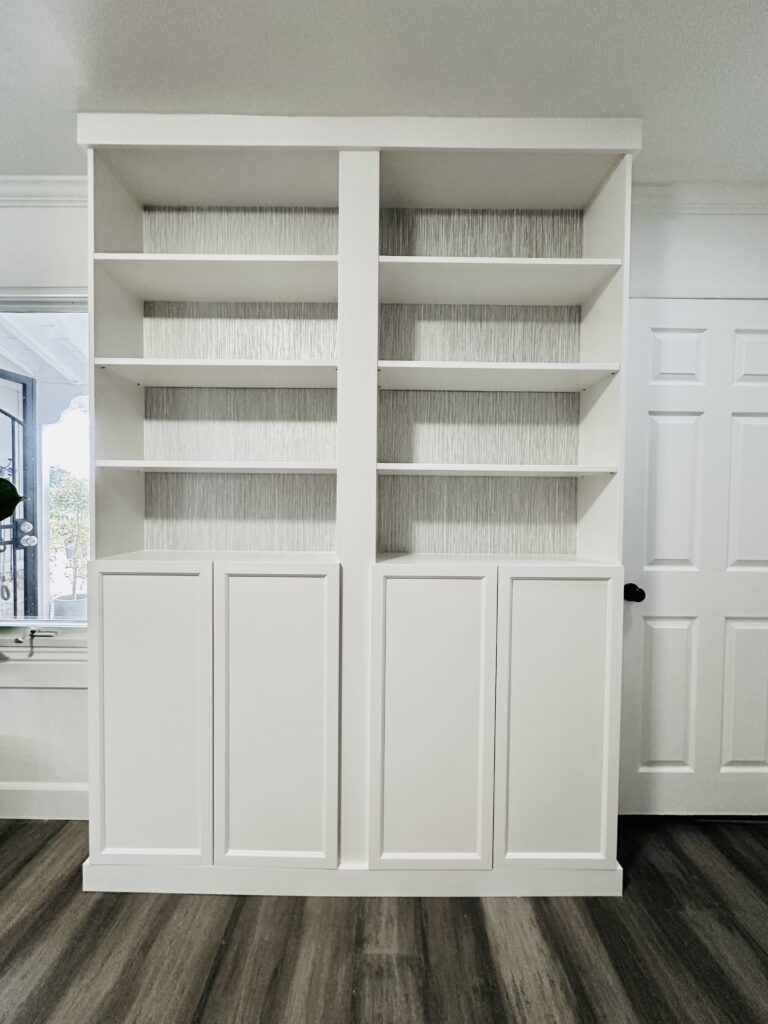
Finally, I added some hardware to finish everything off. I decided to bring in a touch of gold to warm up the space, and it made such a beautiful difference. Since there wasn’t any existing electrical for lighting at the top, I opted for rechargeable library lights instead—truly brilliant and so easy to use. I also drilled holes in the upper doors and added simple brass knobs to tie everything together.

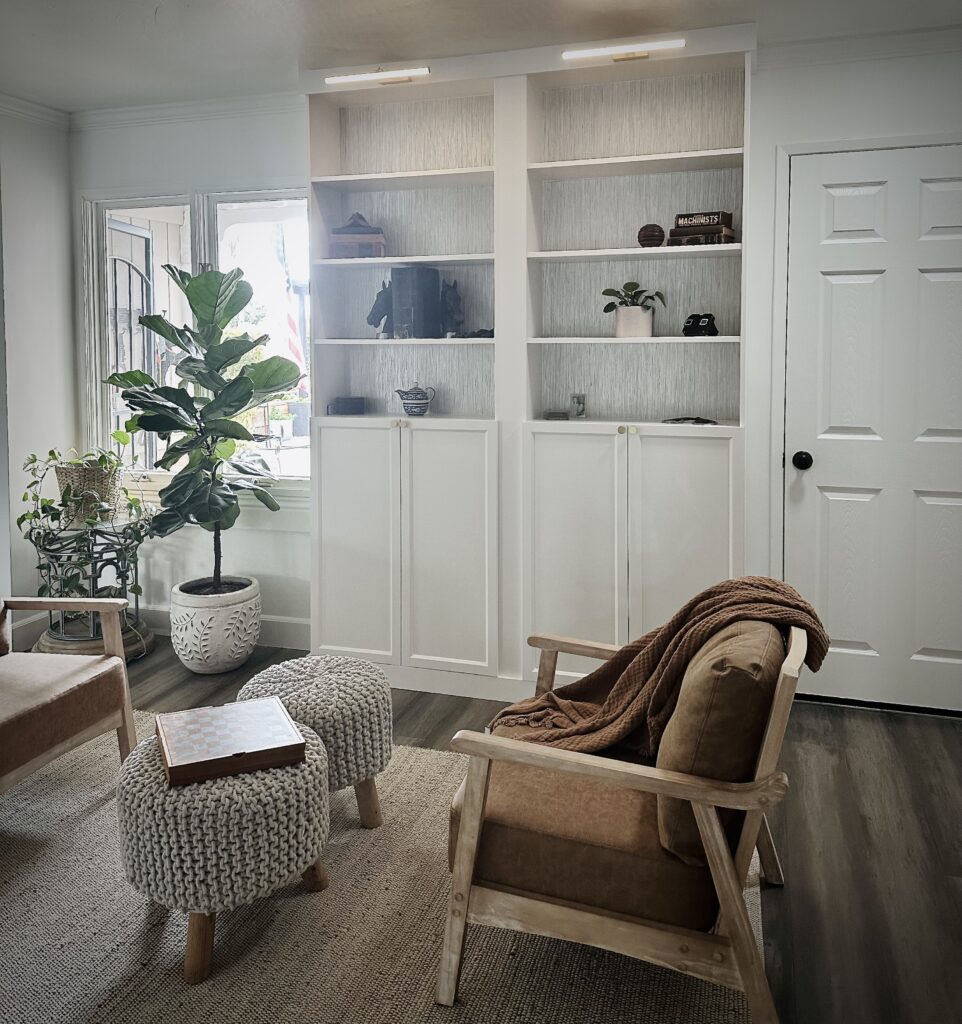
Like I mentioned, this space still needs a bit of refining, but for now the simple addition of these shelves—paired with a couple of chairs, footstools, an area rug, and a few conversation pieces—has transformed it into a much more cohesive and intentional area.
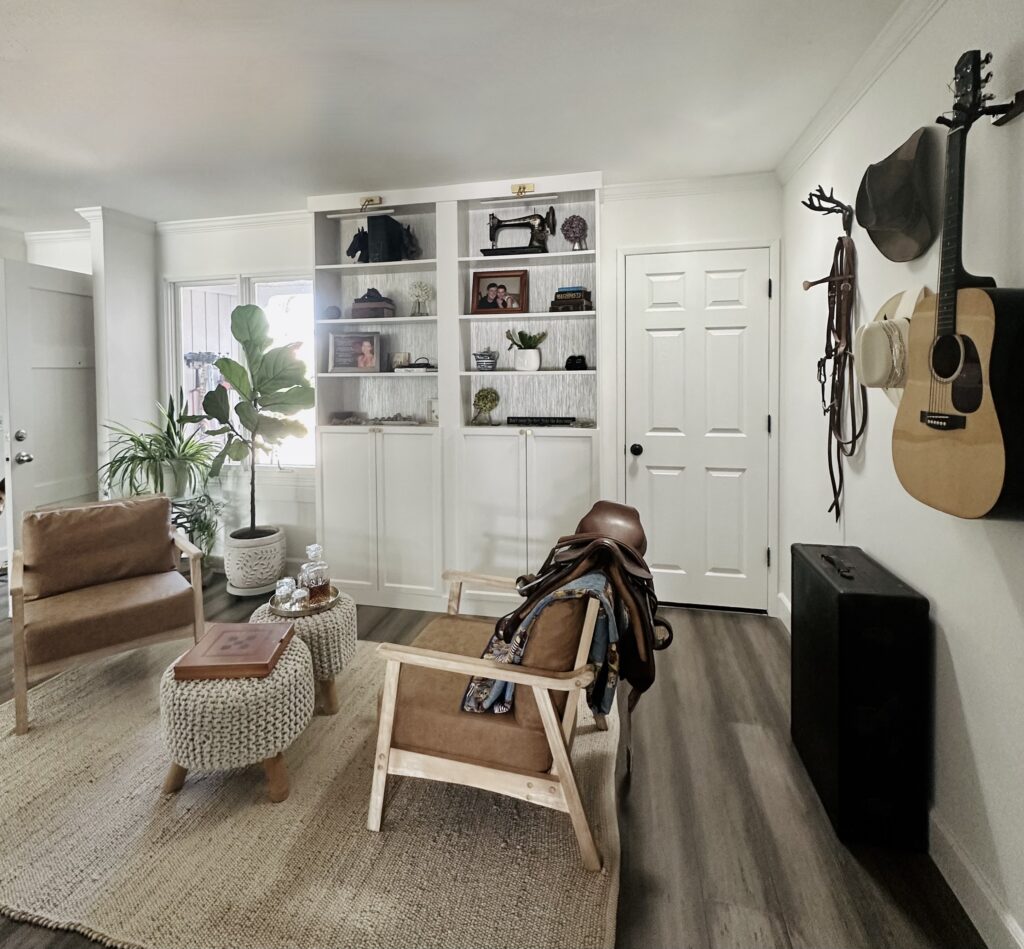

This little makeover has reminded me that you don’t always need a full renovation to make a meaningful impact in your home. With a bit of creativity, some thoughtful styling, and a few budget-friendly upgrades, even the most awkward spaces can become functional and inviting. I’m excited to keep refining this area over time, but for now, I’m simply enjoying having a cozy corner to unwind, read, and slow down—proof that small changes can truly breathe new life into a home.
Leave a Reply