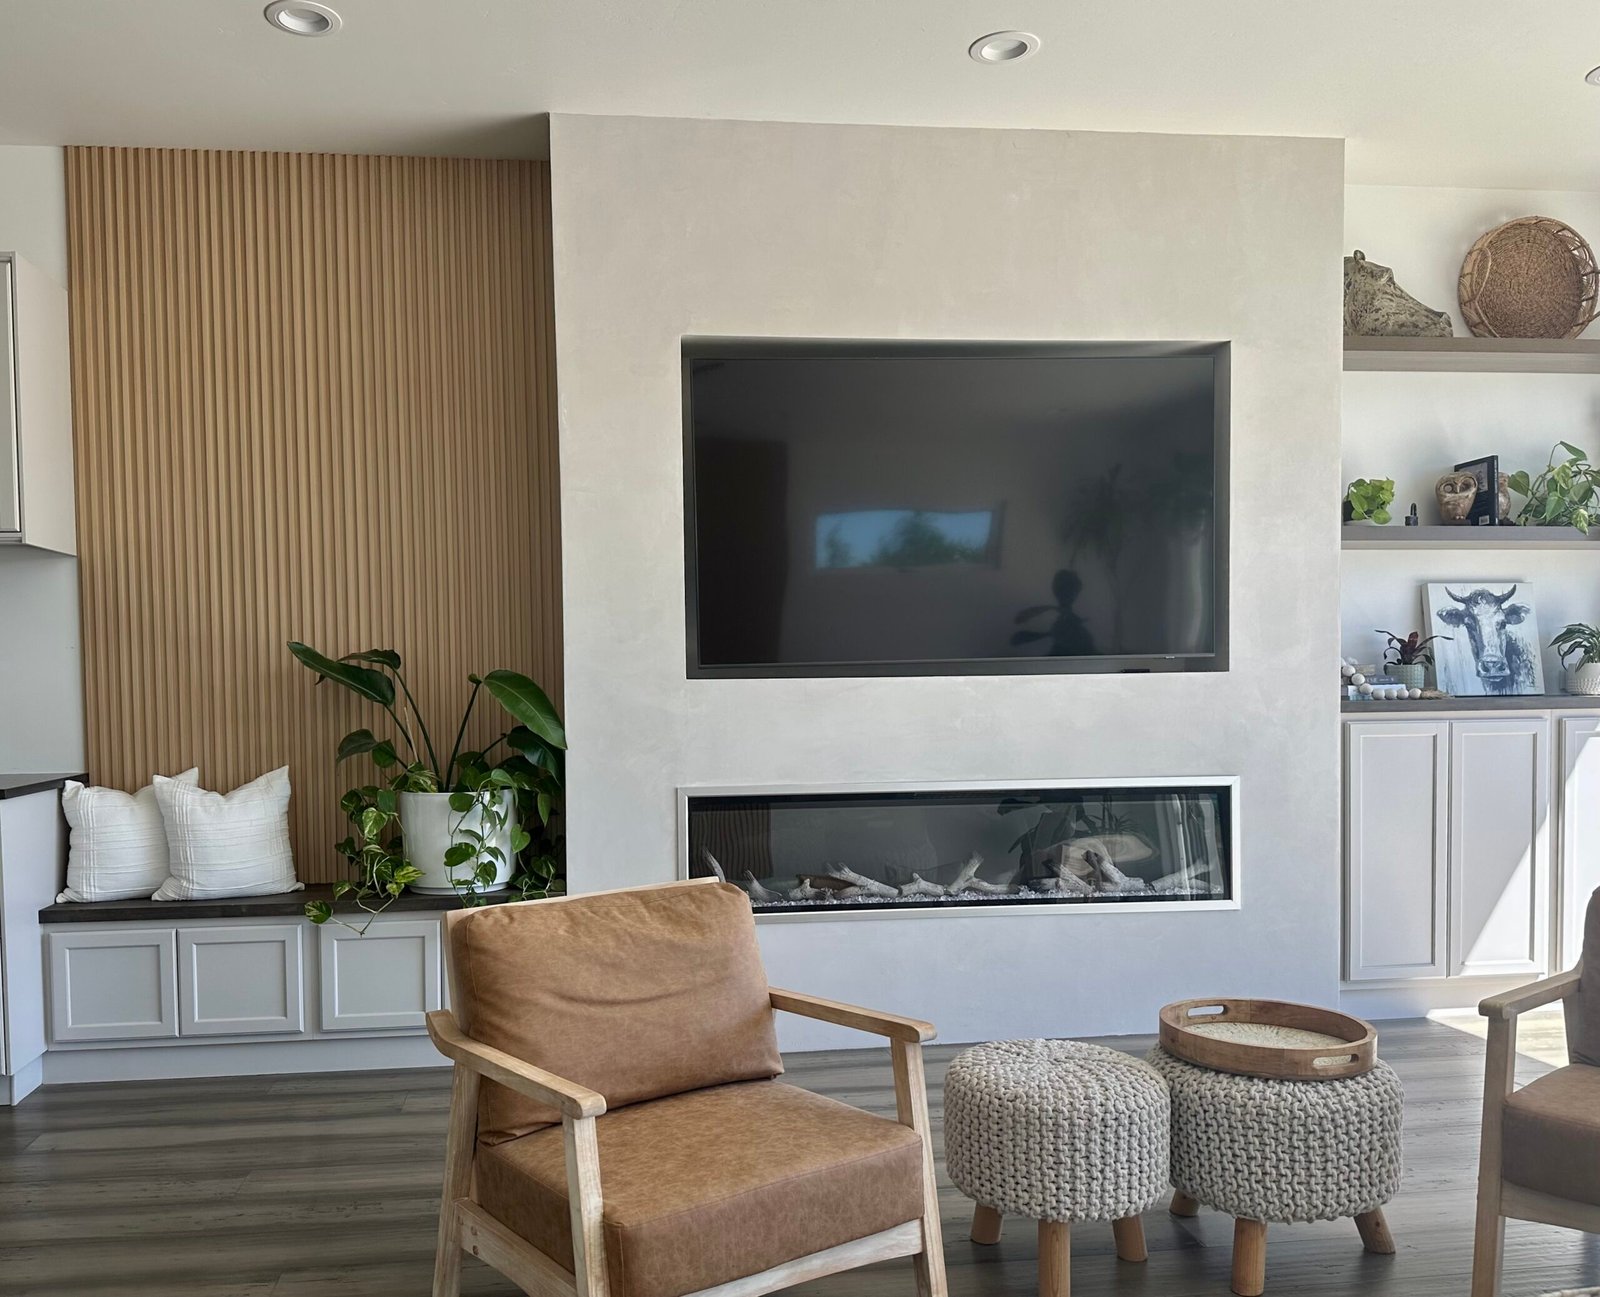
Want to add warmth, texture, and visual interest to a room? Have I got an easy project for you!
There are plenty of slat wall options on the market, but I found the Artika Panolok Slat Wall Panels to be excellent quality and incredibly easy to install. As an added bonus, they’re paintable if you’d like to customize the look even further.
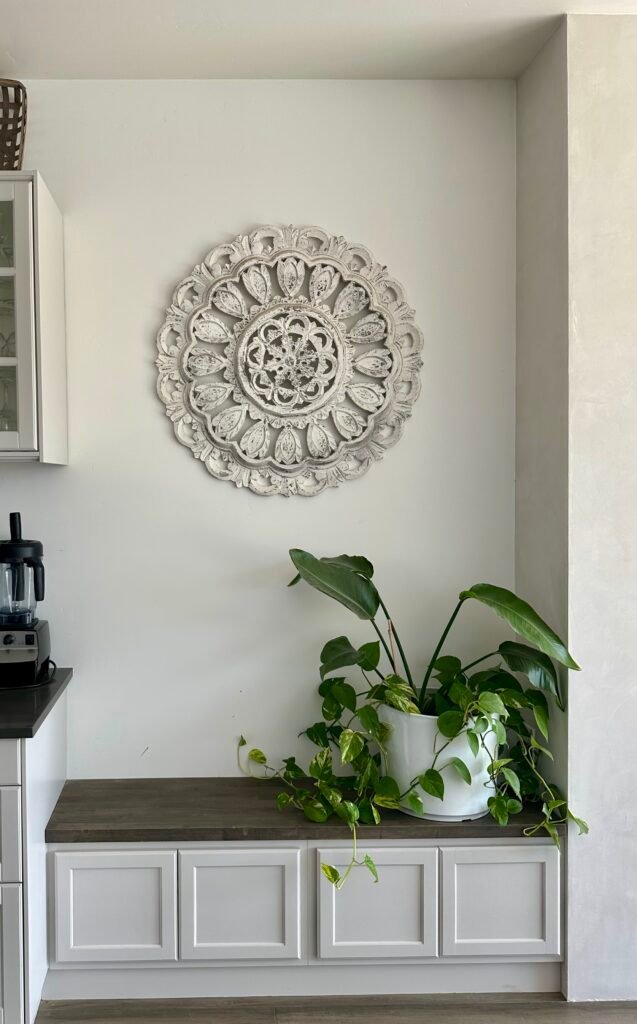
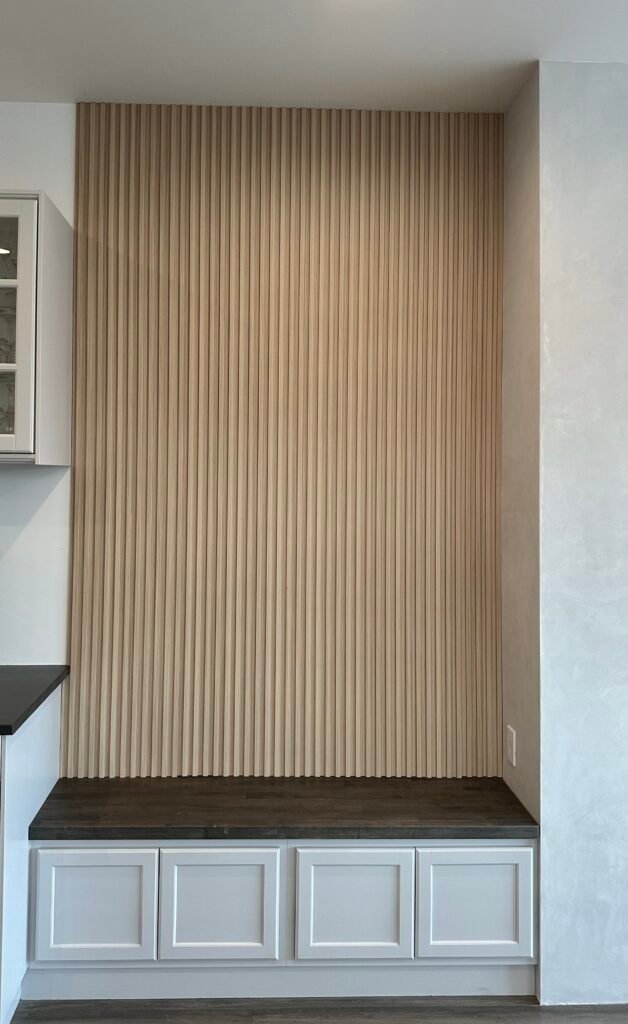
I used two boxes for this project and still had some material left over. Since I hate being wasteful, I’ll show you what I did with the extra pieces at the end of this post.
Supplies Used:
- (2) Artika Panolok Slat Wall Panel Kits (Oak, 8-pack)
- Miter Saw
- Stud Finder
- Laser Level
- Brad nailer with 2” finishing nails
- Liquid Nails
- Natural-colored wood filler
Installation Process
From start to finish, this project took about two hours and was surprisingly simple. I only had one detailed cut to make, so it came together quickly.
I started by locating the wall studs with a stud finder and marking them lightly on the ceiling with a pencil. This made them easy to reference once I began installing the panels.
Next, I measured the wall and used a miter saw to cut the slats to length. After applying Liquid Nails to the back of each panel, I positioned it on the wall and checked for plumb using a laser level. I repeated this process with each panel to ensure everything stayed perfectly aligned.
Where a stud wasn’t available, I placed a single nail at the top and bottom of the panel to hold it in place while the adhesive dried. For panels that aligned with a stud, I used approximately six nails spaced evenly from top to bottom.
One feature I really appreciated is that these panels are tongue-and-groove, allowing them to fit seamlessly together. Once installed, they look like one continuous custom wall treatment rather than individual pieces.
After installation, I filled the nail holes with wood filler, stepped back, and admired the transformation. It’s amazing how much warmth and character such a simple project can add to a space.
Using the Leftover Material
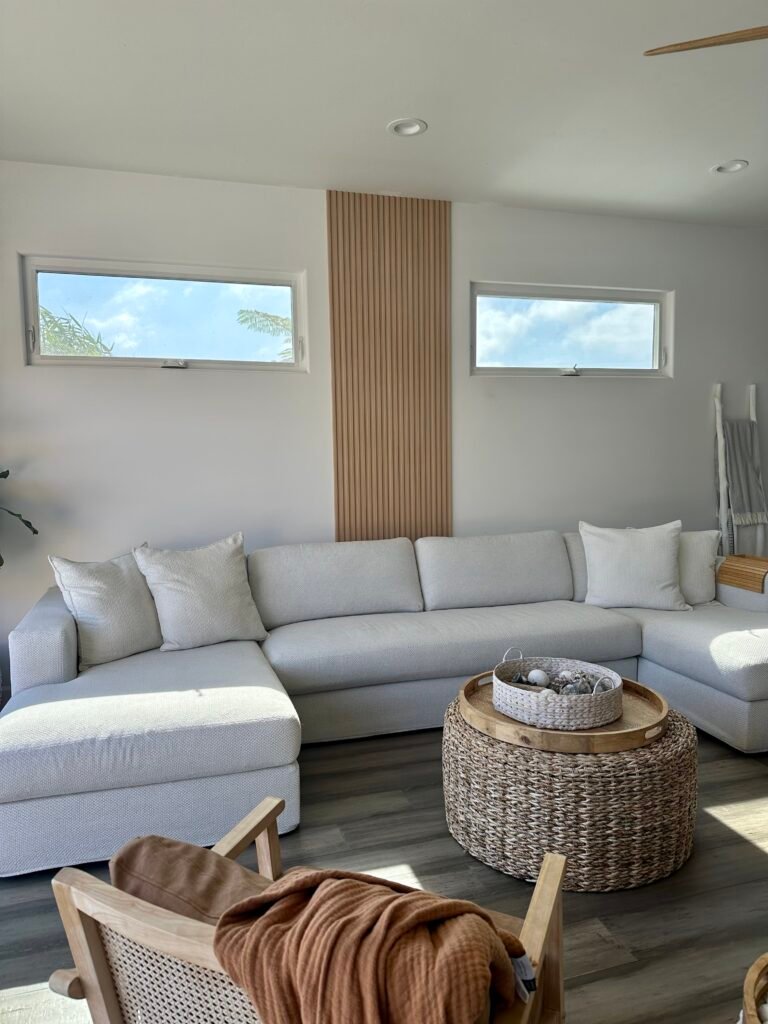
Remember those extra pieces I mentioned? Rather than letting them go to waste, I found another way to use them in our home:
Final Thoughts
I absolutely love what these slats have brought to our great room. The space always felt a little large and lacked warmth, and this project added the perfect amount of texture and visual interest.
If you’ve been considering a slat wall but felt intimidated by the installation process, I hope this encourages you to give it a try. I was pleasantly surprised by how little skill it required and how dramatic the finished result feels.
Sometimes the simplest projects make the biggest impact.
Cheers!